The Submission Form
The Submission Form serves as the heart of the public-facing application, where metadata about records can be provided by donors and files can be uploaded for transfer to the institution.
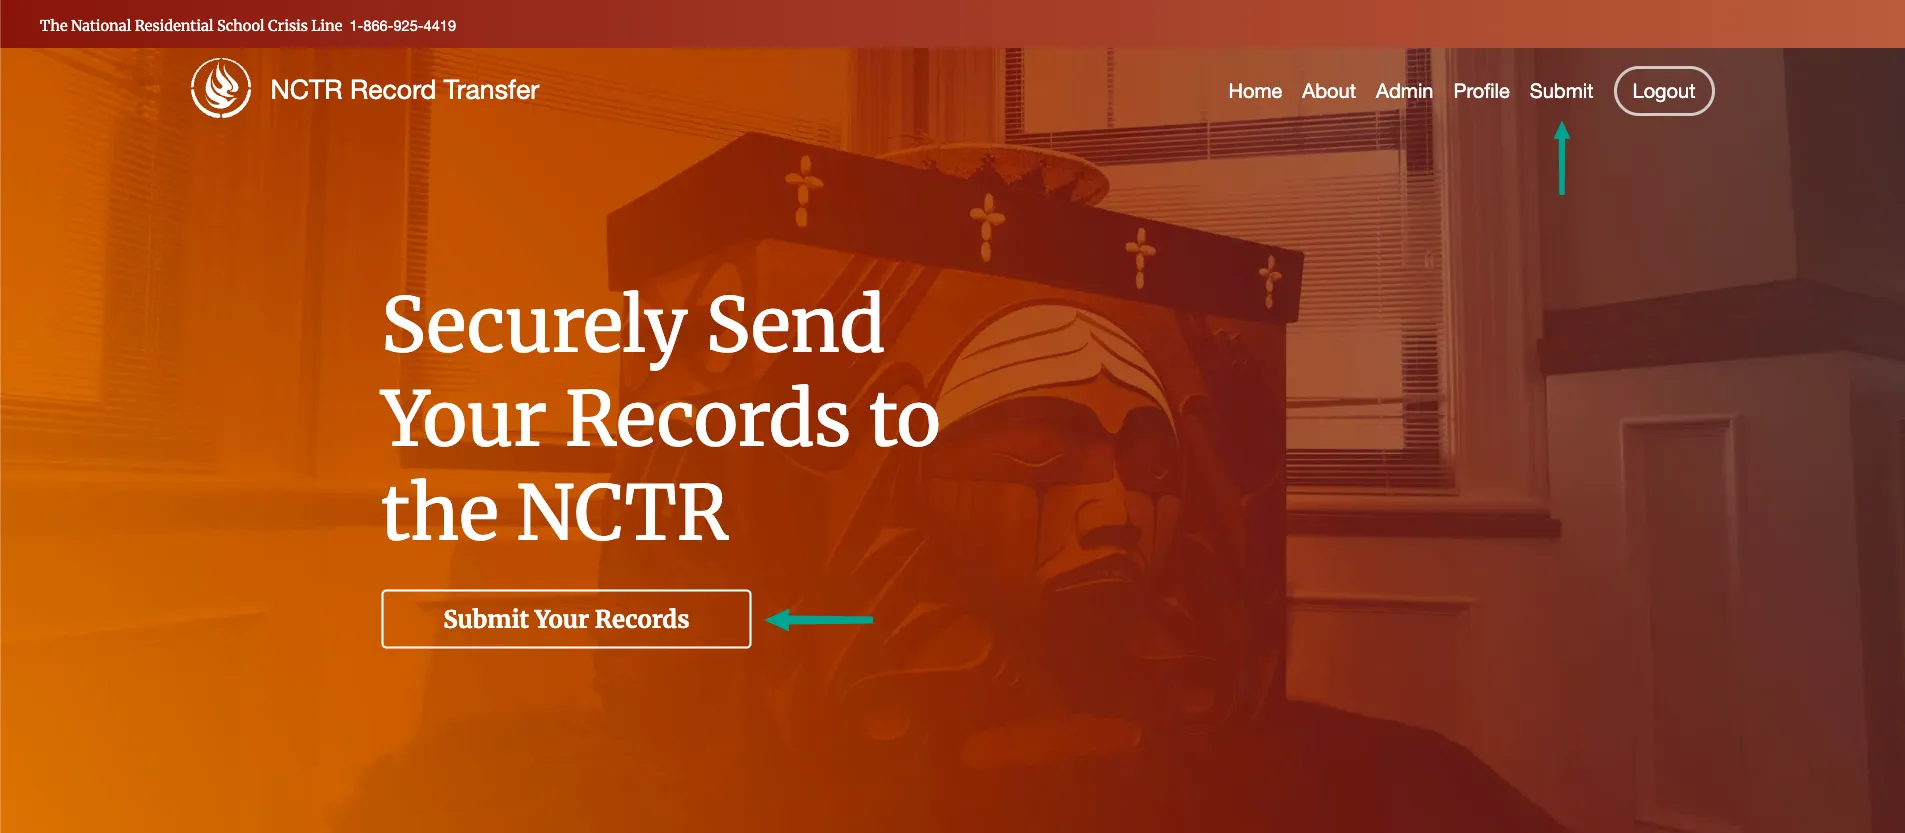
A submission can be initiated by clicking on either “Submit” on the navigation bar or the “Submit Your Records” button on the homepage. This will take the donor to the submission form.
Form Overview
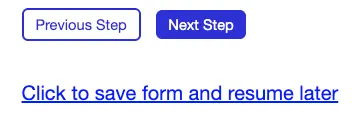
The Submission Form is divided into multiple steps to simplify the submission process. At the bottom of each step, the navigation buttons Next Step and Previous Step can be clicked to proceed to the next step or go to the previous step in the form, respectively. The link “Click to save form and resume later” can be clicked to save the current form and return to it at a later time.
For every step of the Submission Form, the data entered is saved so the donor can navigate back and forward in the form without losing their data. This includes file uploads in Step 8: Upload Files, which are saved on the server upon selection.
Throughout the form, grey information icons (i) exist next to many fields. Helpful tooltips with additional guidance on how to complete each field are displayed when the mouse hovers over these icons.
Fields marked with a red asterisk (*) are required. These fields must be completed before proceeding to the next step of the form. The rest of the fields are optional.
Certain fields are validated after the Next Step button is clicked. If any required fields have been missed or invalid data has been entered, error messages will be shown on top of each relevant field. These errors prevent the donor from proceeding to the next step until they are corrected.

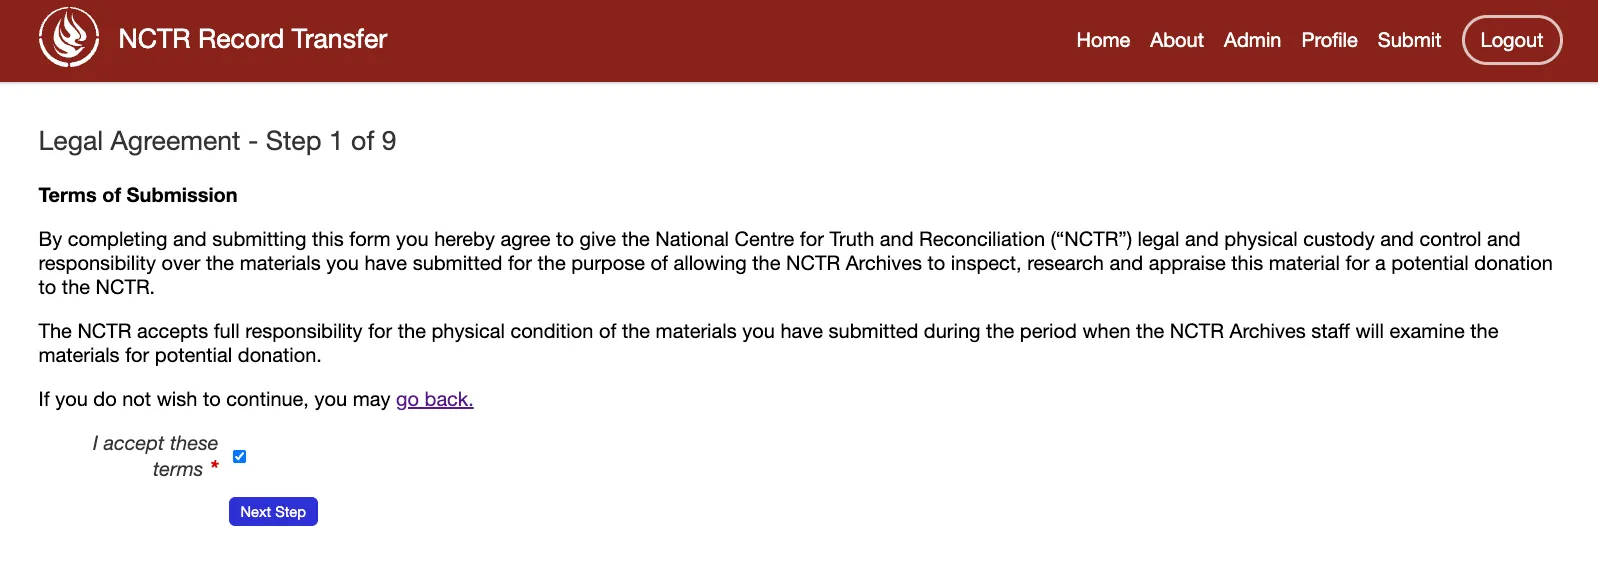
Step 1: Legal Agreement
To fill out the form, the legal agreement must first be accepted. This agreement outlines the legal terms and conditions that the donor must agree to before continuing with the rest of the form.
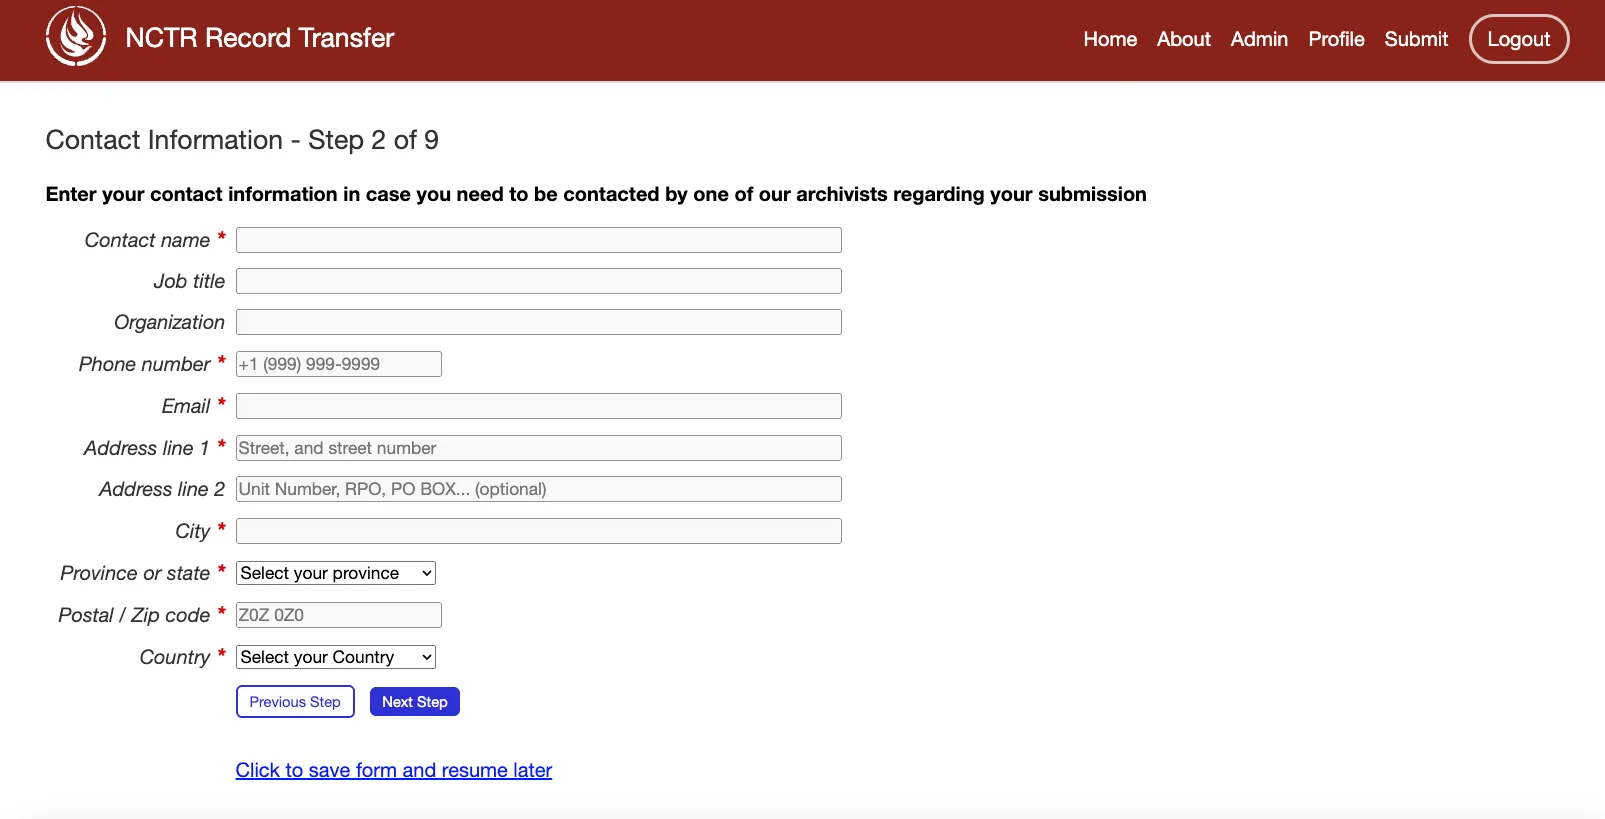
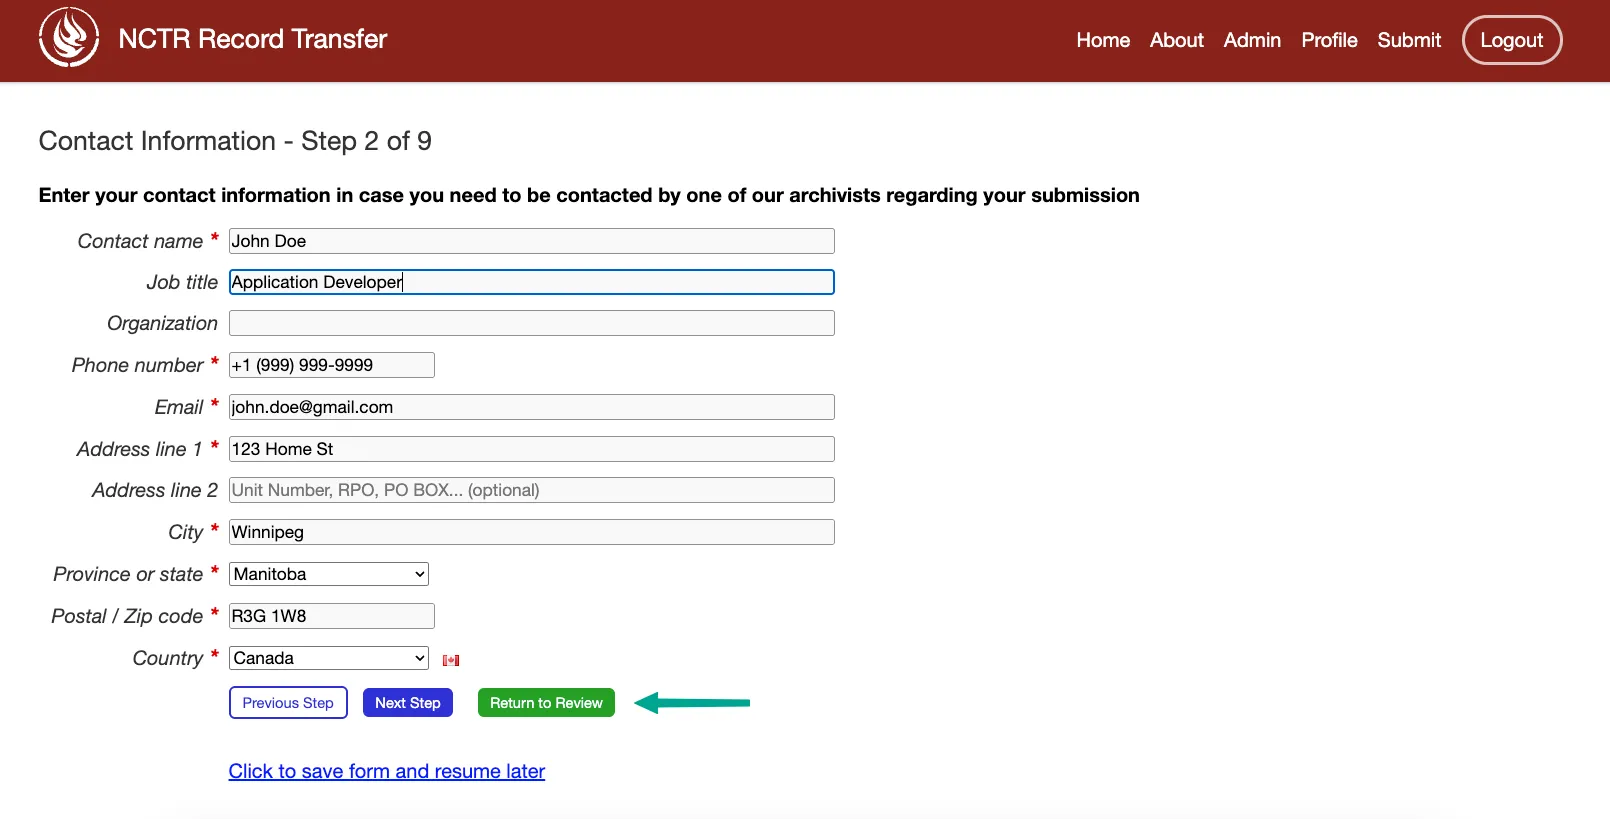
Step 2: Contact information
This step gathers contact information from the donor.
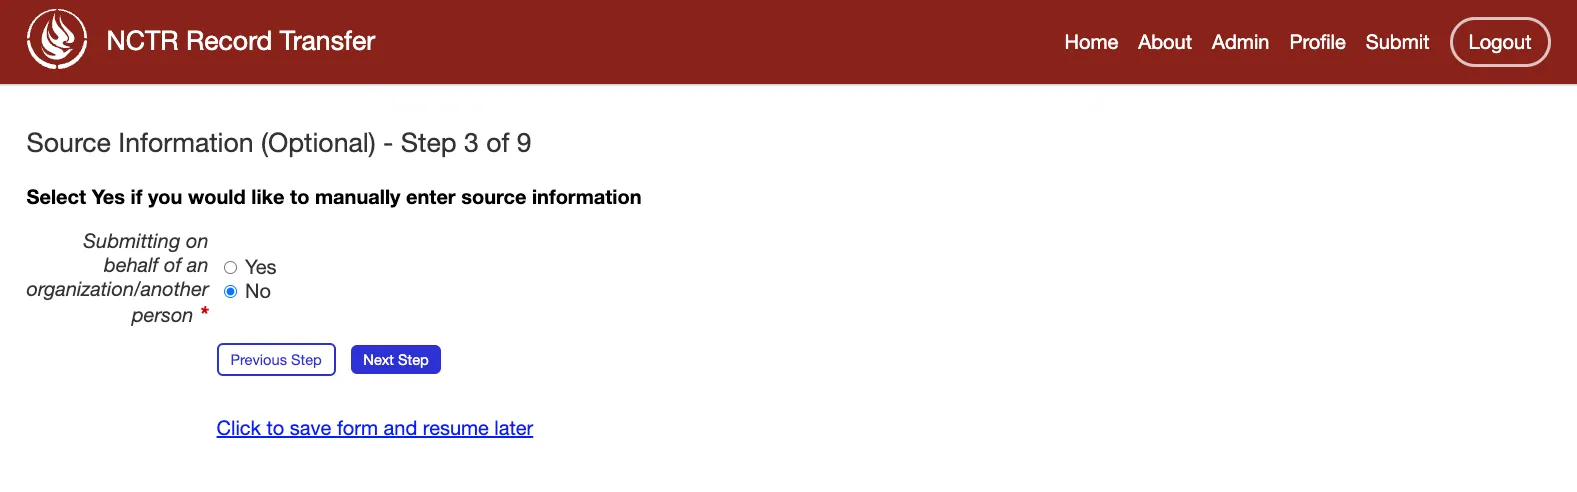
Step 3: Source information
Here, the donor inputs information about who is submitting the records. If the donor is submitting records themselves, they can leave the default “No” selected for the “Submitting on behalf of an organization/another person” field and simply click Next Step.
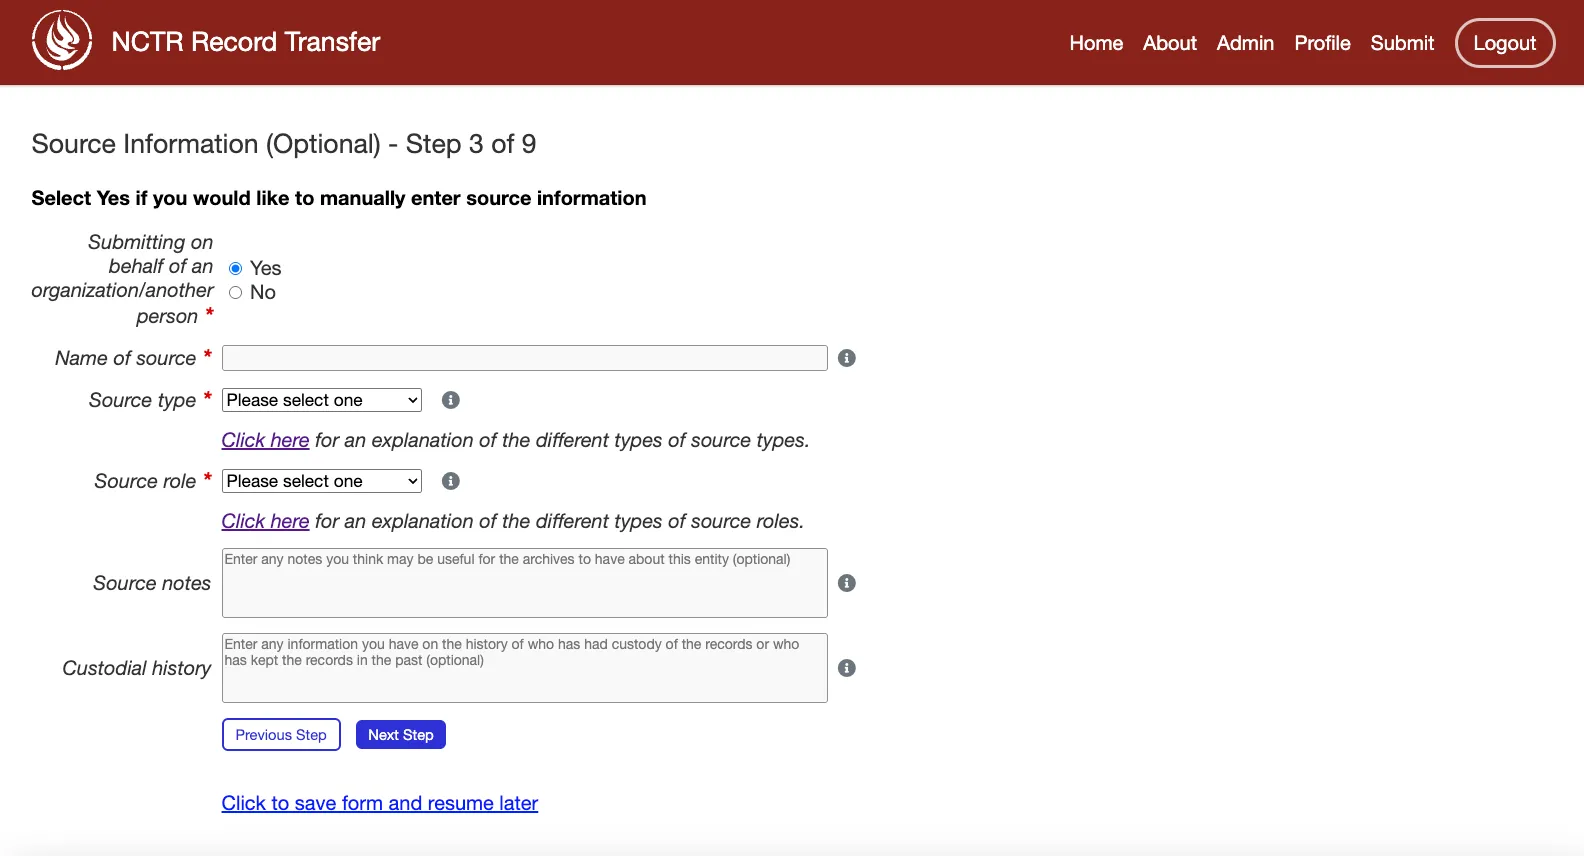
If the donor is submitting the records on behalf of another person or an institution, they can select “Yes” for that field instead. This will reveal additional fields where they can provide information about the organization or person they are submitting the records for. CAAIS includes fields for adding notes about the source, as well as custodial history. If the donor feels inclined to include this information, they can do so in the relevant optional fields.
If the relevant source role or source type is not present in the dropdown, the donor can select “Other” for either field and a text box will appear where they can enter their own source type or role.
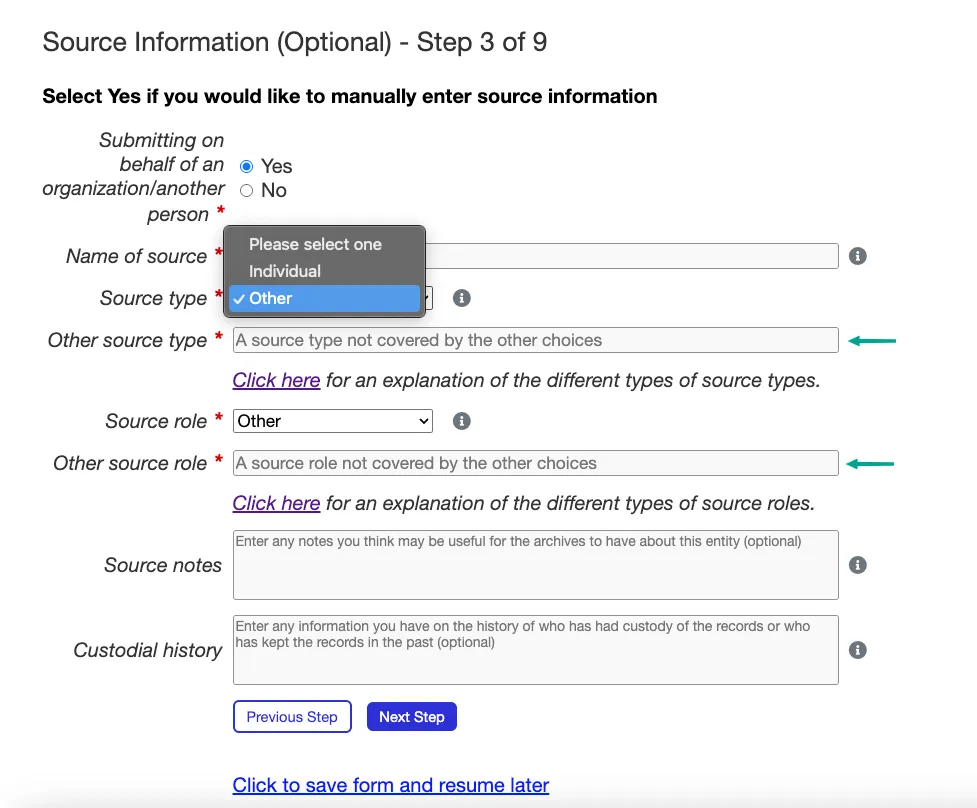
More information about the source types and roles in this step can be found on Adding Source Types and Adding Source Roles respectively.
Step 4: Record Description
In this step, the donor is asked for a very brief description of their transfer/records. They must enter four pieces of information:
A title
The start and end date of the records
If the records span only a single date, the donor can select just one date
They can select “Date is approximated” if the date is not exact, or if they are not sure of the exact date
The languages of the records
A brief description of what the records contain
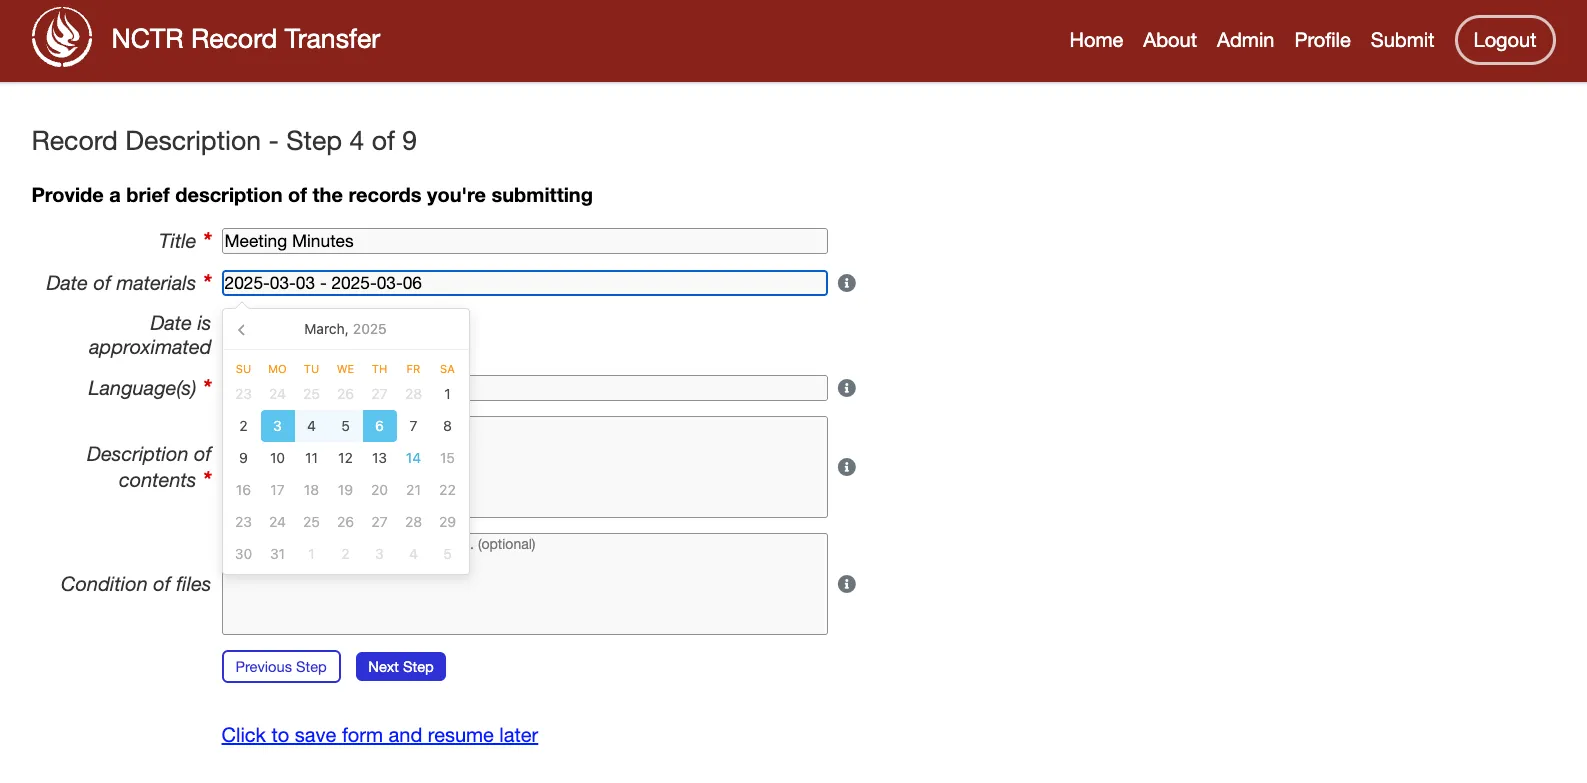
By default, a date widget is used to select the start and end dates. To allow donors to enter dates manually, the date widget can be disabled by modifying USE_DATE_WIDGETS.
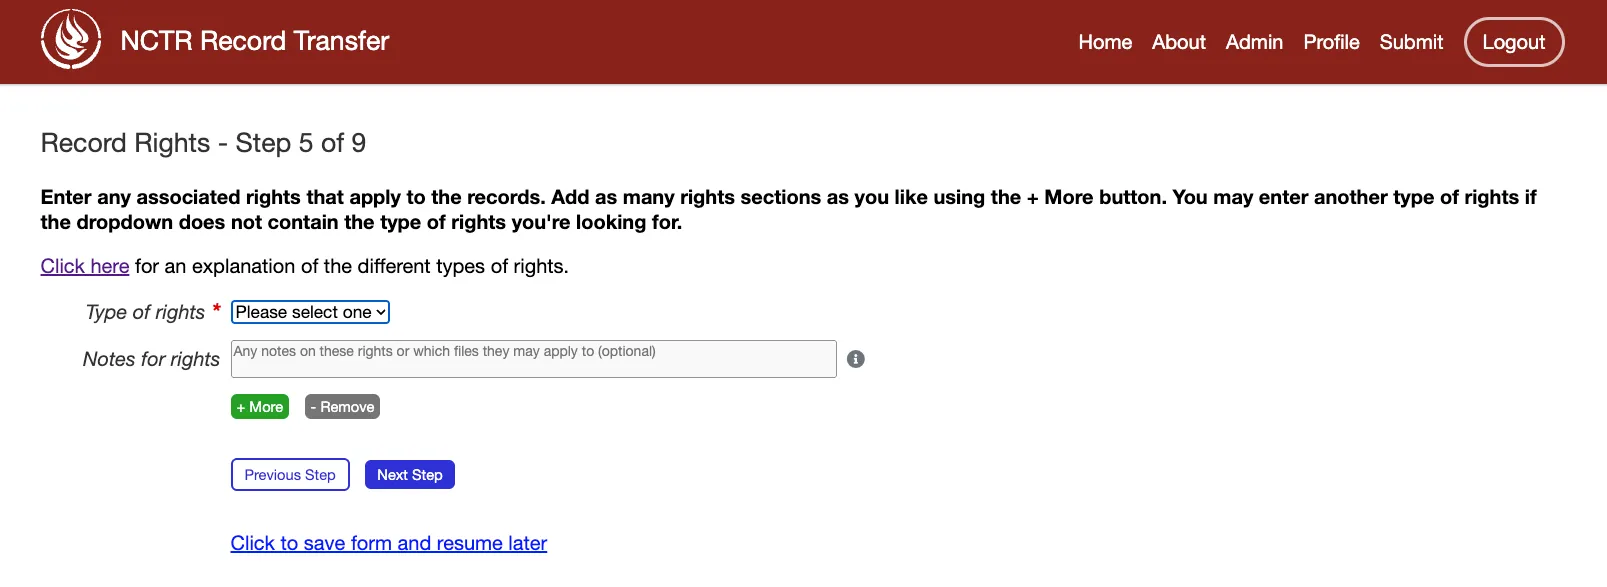
Step 5: Record Rights
Here, the donor will enter the rights applying to their records. They must select at least one type of rights that apply to their records. If the type is not present in the dropdown, they can select Other and type in their own type of right. If they want to add multiple rights if, for example, there are different rights for different records, they can click the + Add button to add more. Alternately, they can remove rights with the - Remove button.
If the donor is unsure about which right/(s) apply for their records, they can click on a link found at the top of the form, which will open up a description for each type of right on a new tab. More information about the rights in this step can be found on Adding Rights Types.
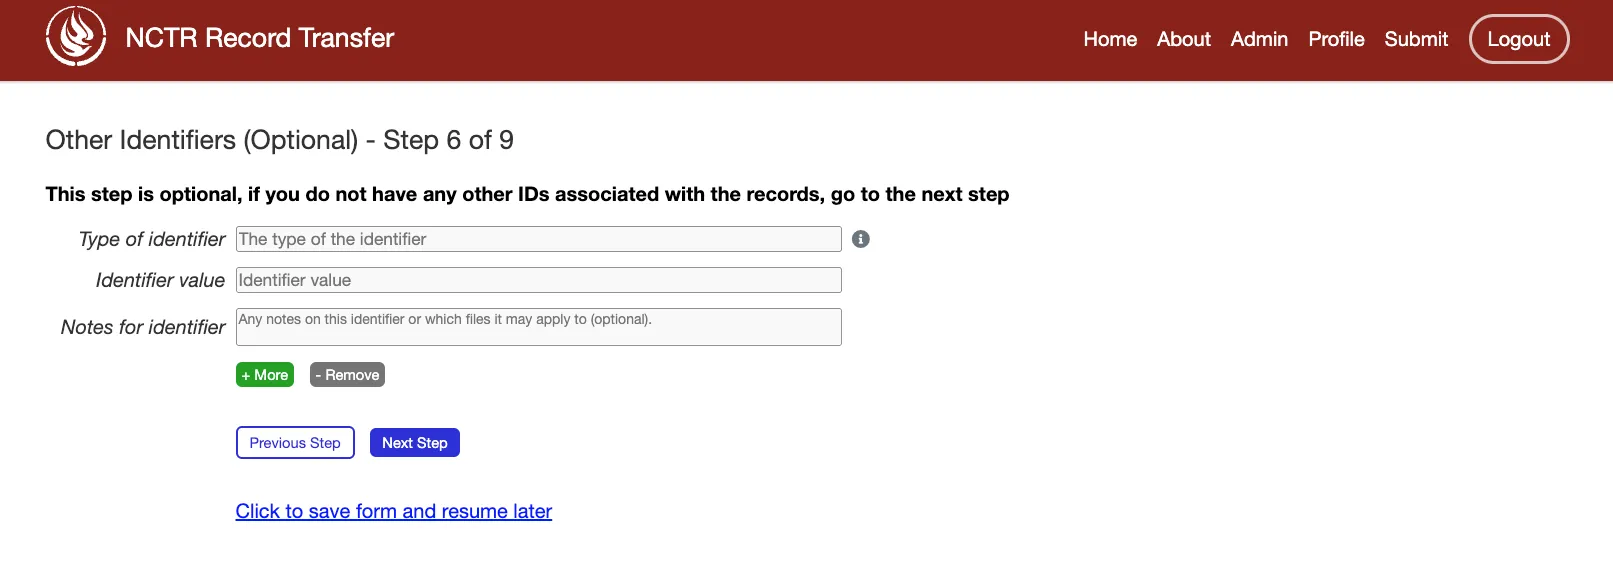
Step 6: Other Identifiers
If the donor has other identifiers that apply to their records, such as an ISBN, or a barcode number, they can put those here. They are not required to enter any here, so can skip to the next step if needed.
Similar to the Rights form, donors can add or remove identifiers as needed.
Step 7: Assign Submission to Group
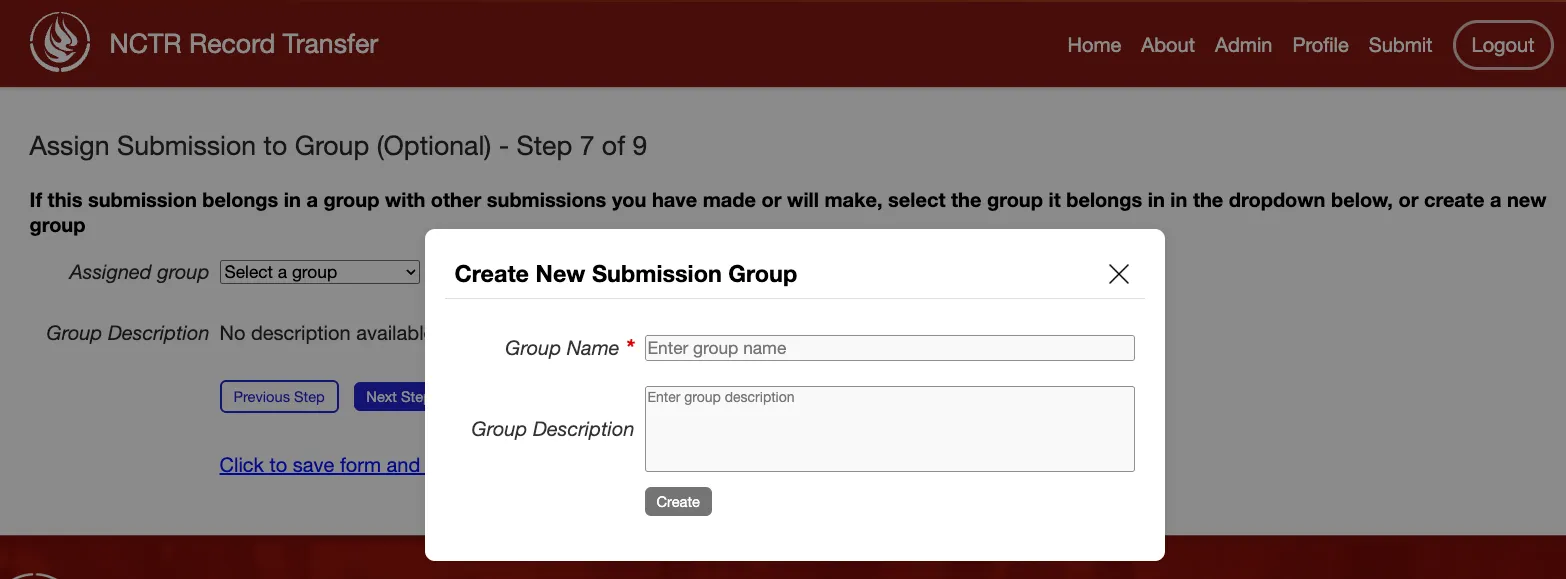
If the donor is splitting their submission out into multiple batches, or if they just want to associate their submission with a group of other submissions they have or will make, they can do so here. They can select previous groups from the dropdown, or create a new one by clicking on the Add New Group button.
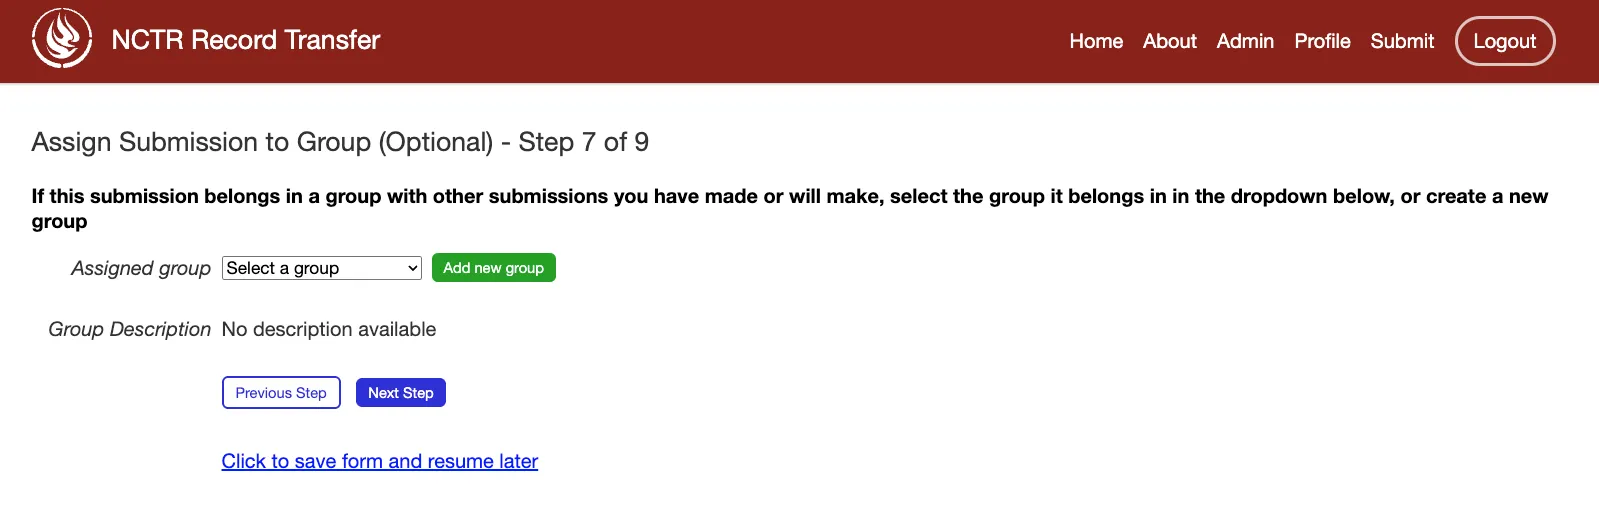
Clicking on the Add New Group button will open a modal where the donor can enter a name and description for the group.
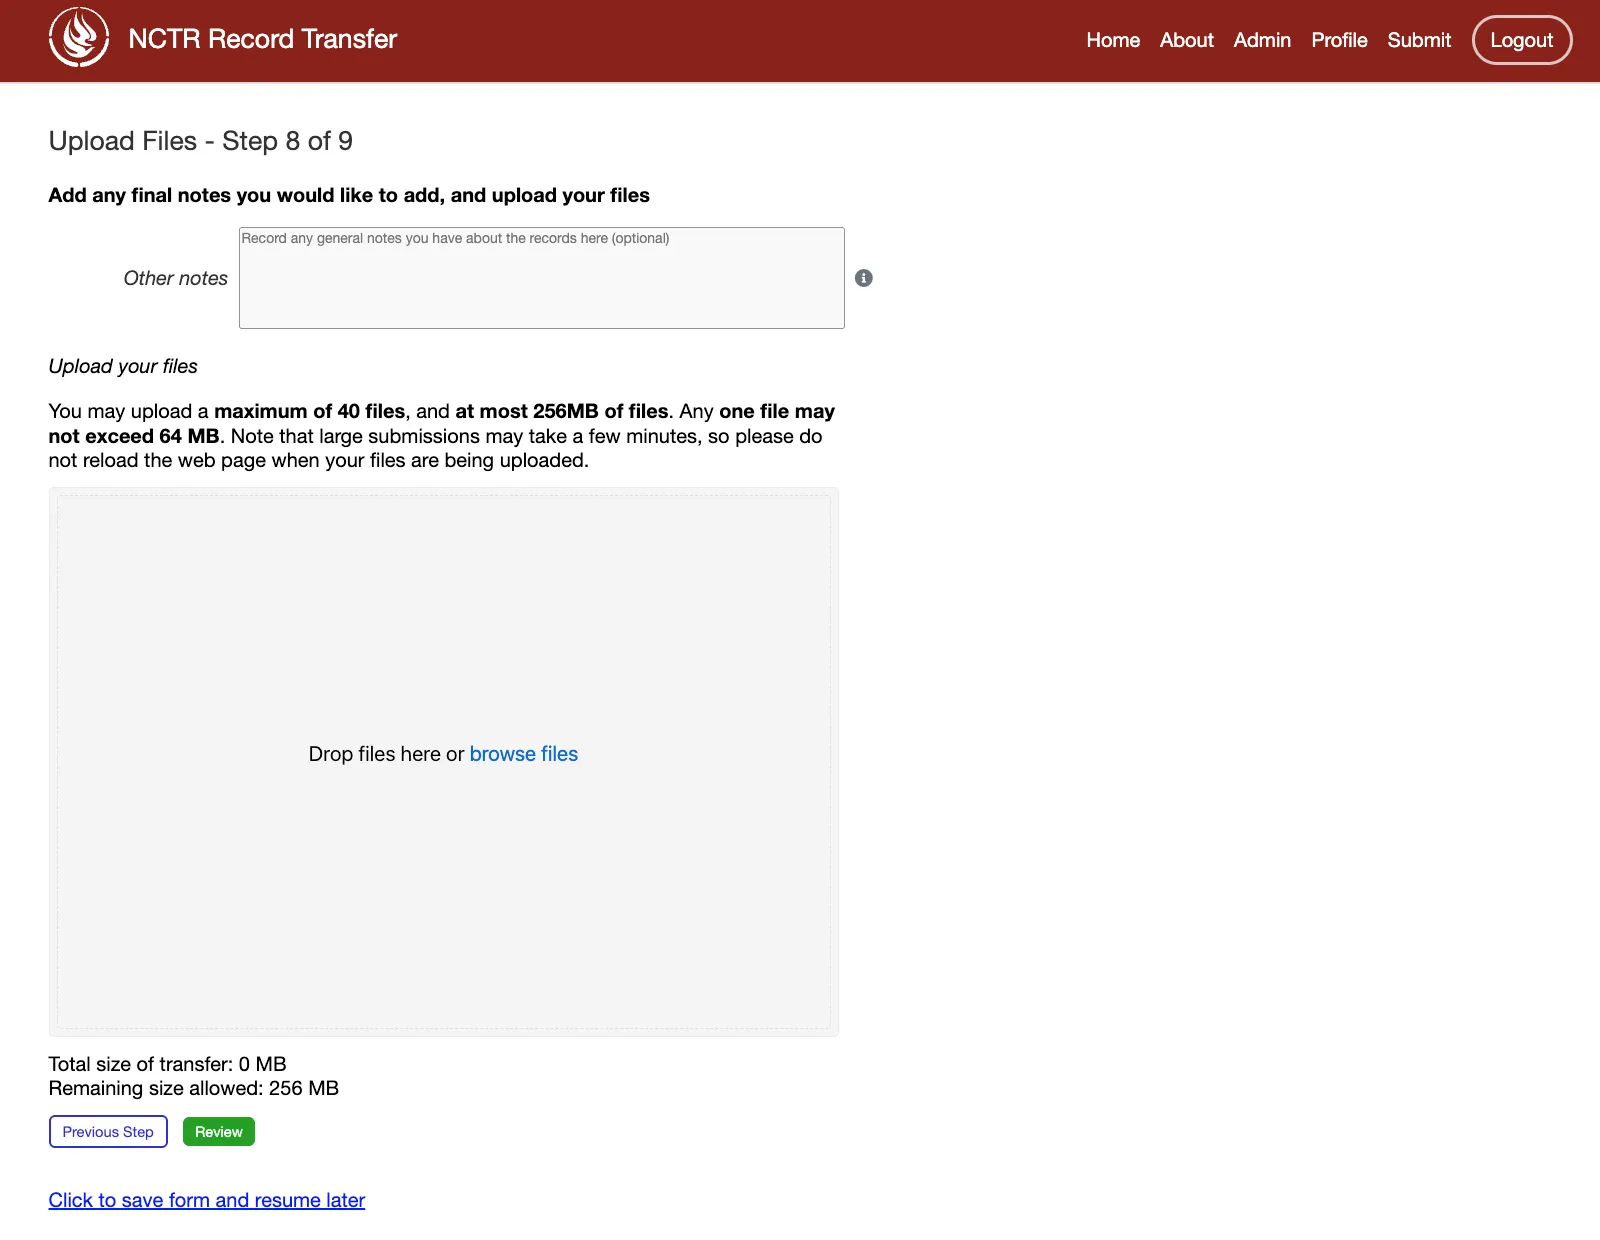
Step 8: Upload Files
This is where the donor can add files to their submission. They must include at least one file to make a submission. They can add files to the file drop zone by clicking on “browse files” or by dragging and dropping files into it. Only accepted file formats can be uploaded.
To see more about how to change what files are accepted, go to the section on ACCEPTED_FILE_FORMATS.
Any additional notes that did not fit in the previous steps can be added in the “Other Notes” field.
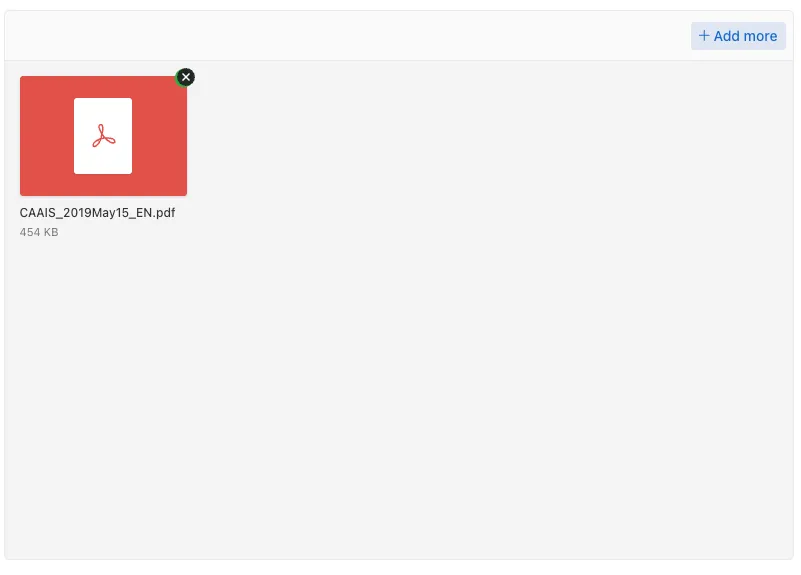
A preview of an uploaded file can be seen by clicking on its file icon. The donor can also remove uploaded files by clicking on the (x) icon.
Step 9: Review
On this step, the donor can review all the information they have entered in the previous steps. If they need to make any changes, they can click on the Go to step button next to the step they want to edit. This will take them back to that step.
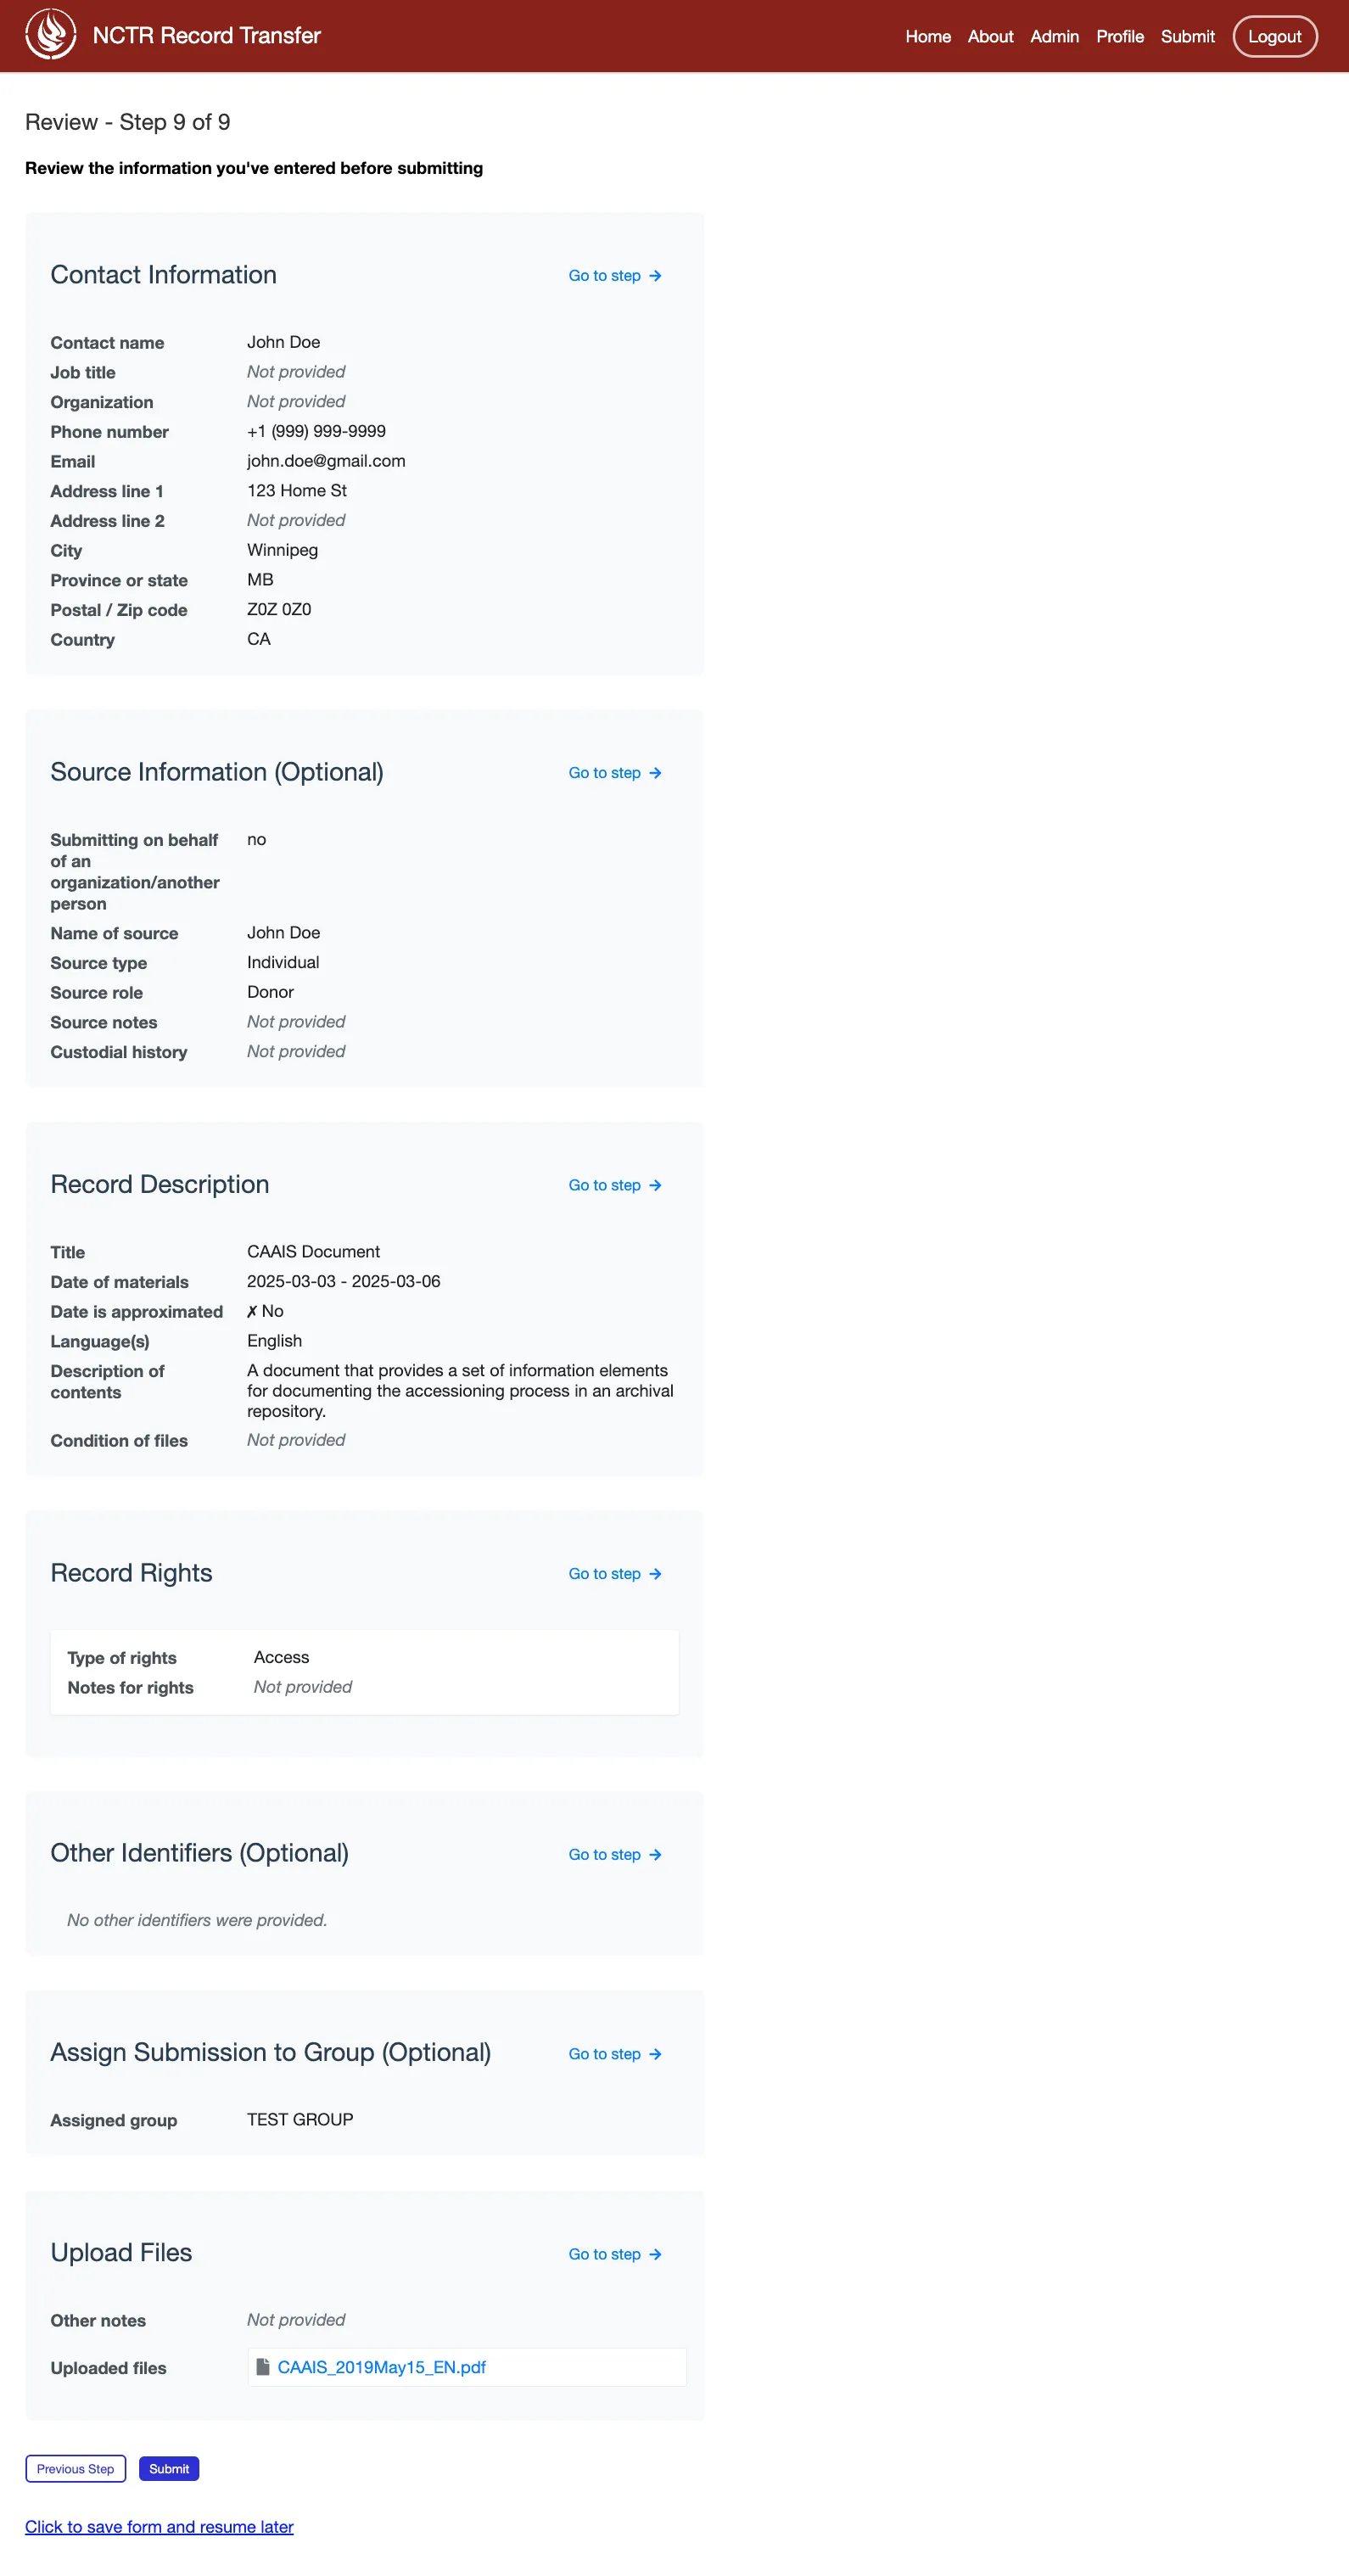
After making any necessary changes, the donor can click on the Return to Review button to go back to the review step.
If the donor is satisfied with the information they have entered, they can click on the Submit button to submit their records.
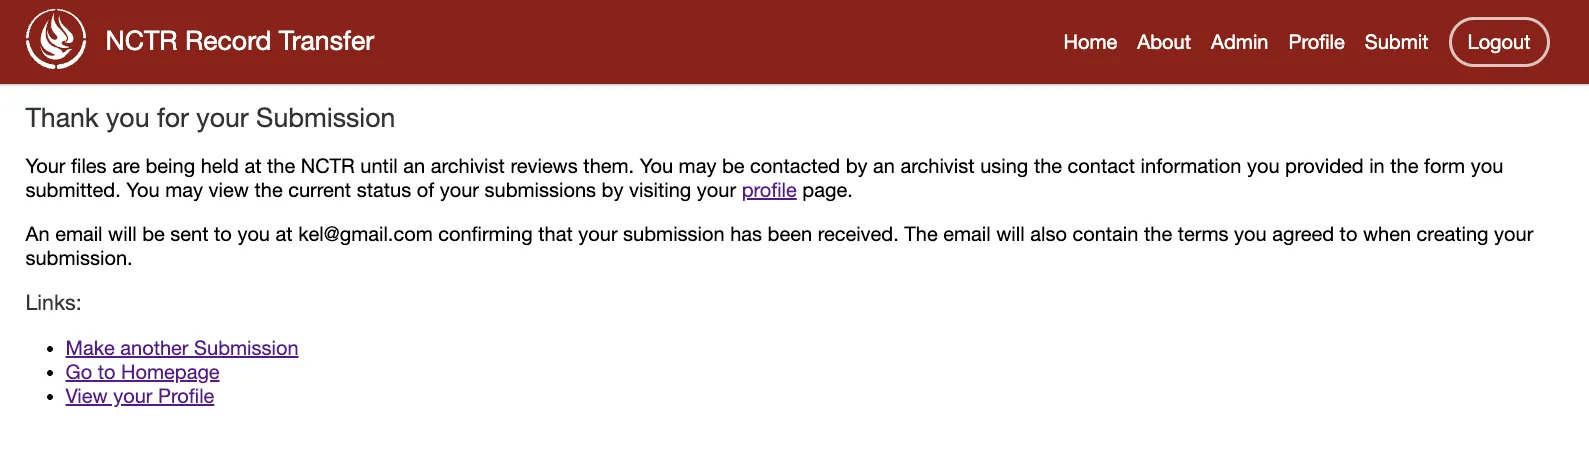
After Submission
After successfully submitting the form, the donor is redirected directed to a thank you page confirming their submission. The system then automatically:
Sends notification emails to all staff users who have opted to receive bag updates
Sends a confirmation email to the donor with details of their submission