Adding users
Before people start to use the website, they need user accounts. There are three ways to create user accounts:
Creating superusers
Creating users from the backend
Using the sign-up form
Creating a Superuser
A superuser is a person who has all possible access to view, delete, and change records. You should assign superuser status sparingly, as these accounts are very powerful.
To create a superuser, use the Django manage script. Whether you are running with Docker, or in production, to create a superuser, use this command and follow the prompts:
(env) $ python3 manage.py createsuperuser
Creating Users from Admin Site
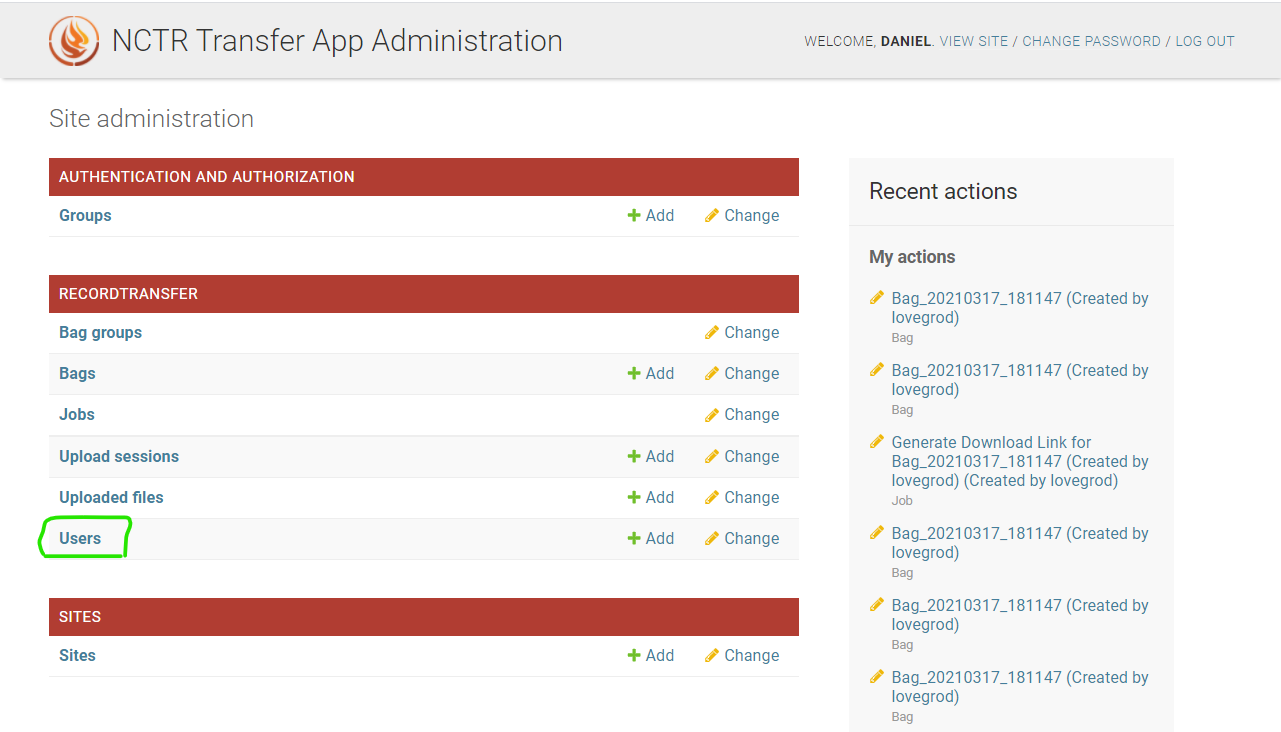
A staff member or superuser with access to the administrator application (accessible at /admin/) has the ability to create new users. To start the process, go to the admin site, and click Users.
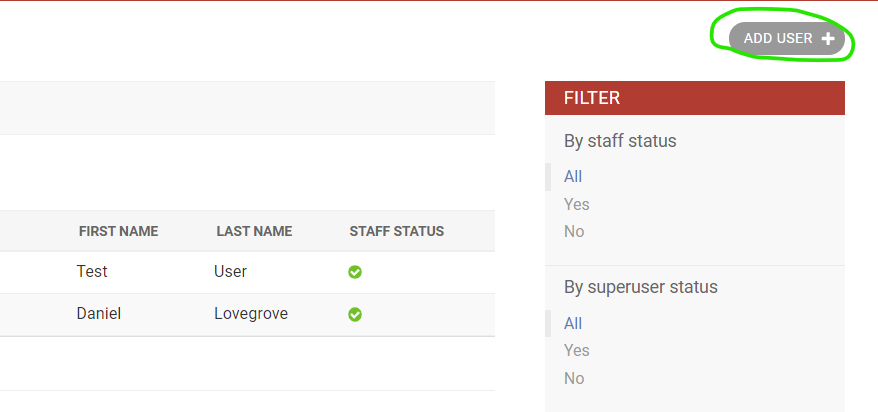
Next, click Add User.
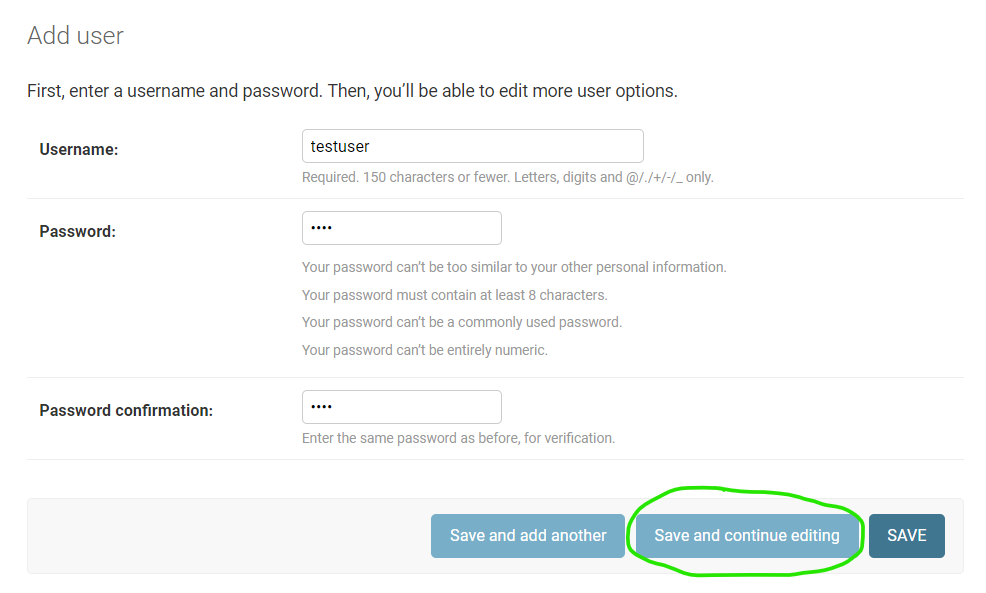
You will be asked to create a username and password for the user. Fill these out and click Save and continue editing.
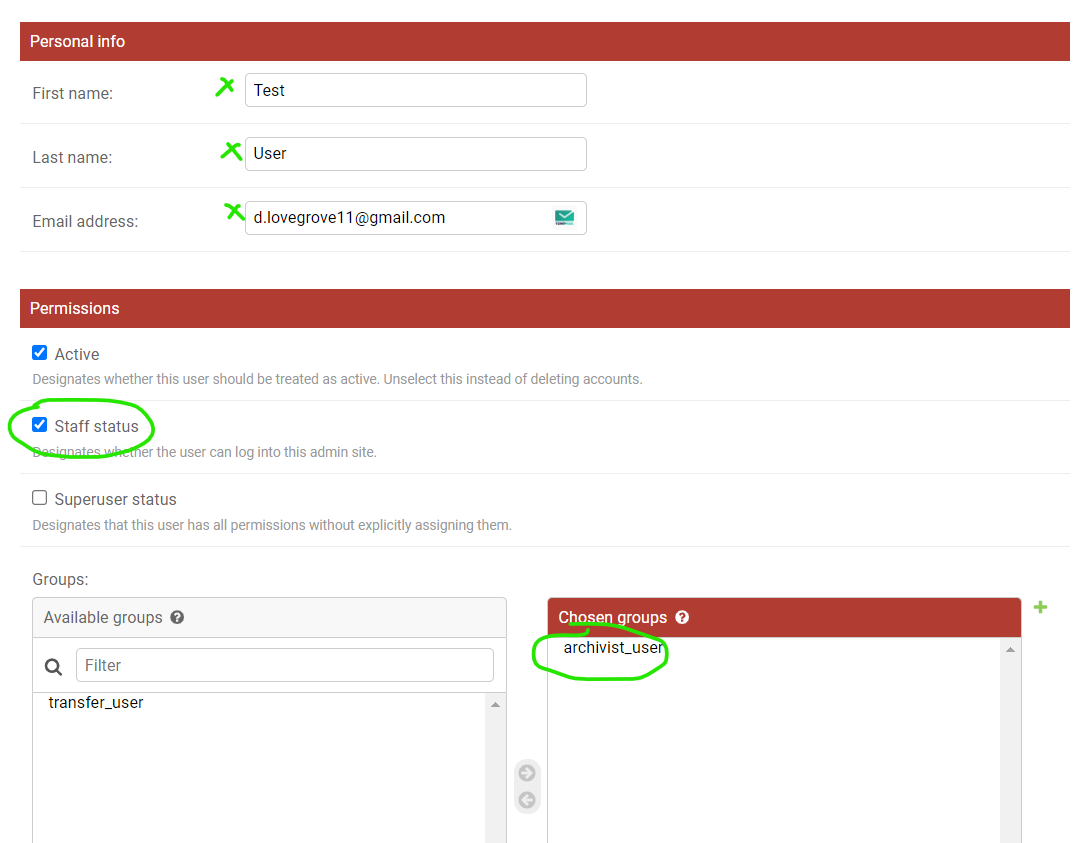
Next, fill out their name and email address. If you want to make the user a staff member, check the Staff box, and assign them to the archivist_user group. If you do not assign them to the archivist_user group, they will be able to see the admin app but it will be empty since they won’t have any permissions.
Creating Users with the Sign-up Form
The simplest way for a new user to be created is to use the sign up form. The Sign Up link will appear in the header on the main site if you are not logged in. Clicking the Sign Up link will present the user with a sign up form.
Note
You can disable the sign up function by setting SIGN_UP_ENABLED to False in recordtransfer/settings.py

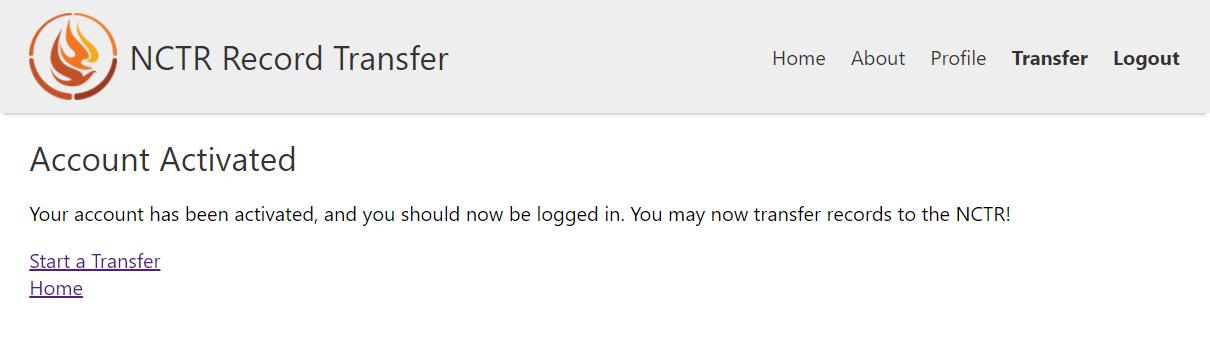
After clicking Sign Up, an email will be sent to the email the user entered. They can click the link in the email to activate their account.
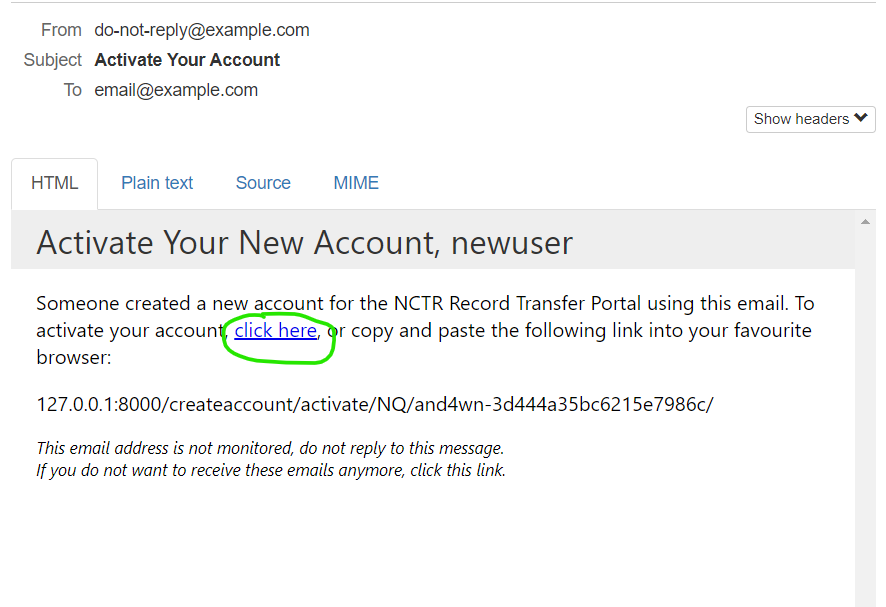
When the user clicks the link or copies and pastes the link into their browser, their account will now be activated, and they will be logged in.