The Transfer Form
The main public application is built around the transfer form. The transfer form is the heart of the application, where users enter metadata about the records they want to transfer to your institution, as well as upload files to send to your institution.
To start a transfer, go to /transfer/. The transfer is split into multiple small steps to make filling the form out easier. In many places, the user can mouse over or tap on the blue help icons for more information on how to fill the field out.
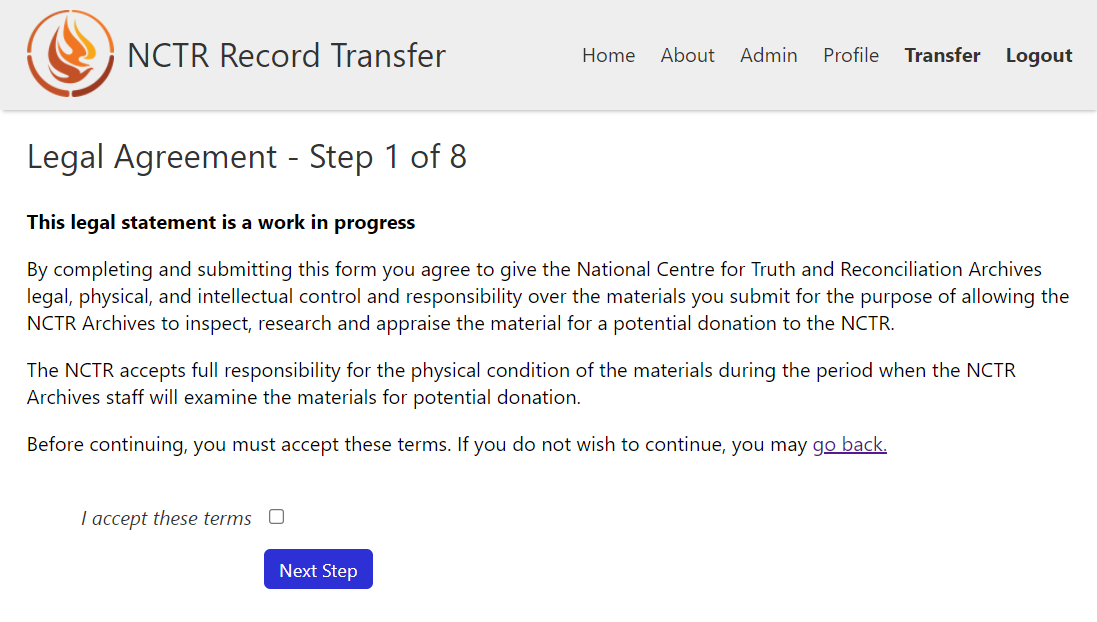
Step 1: Legal Agreement
In the first step of the form, the user must accept an agreement. This agreement will depend entirely on what you are doing with the collected metadata and files. To proceed, someone must check the agreement box before clicking Next.
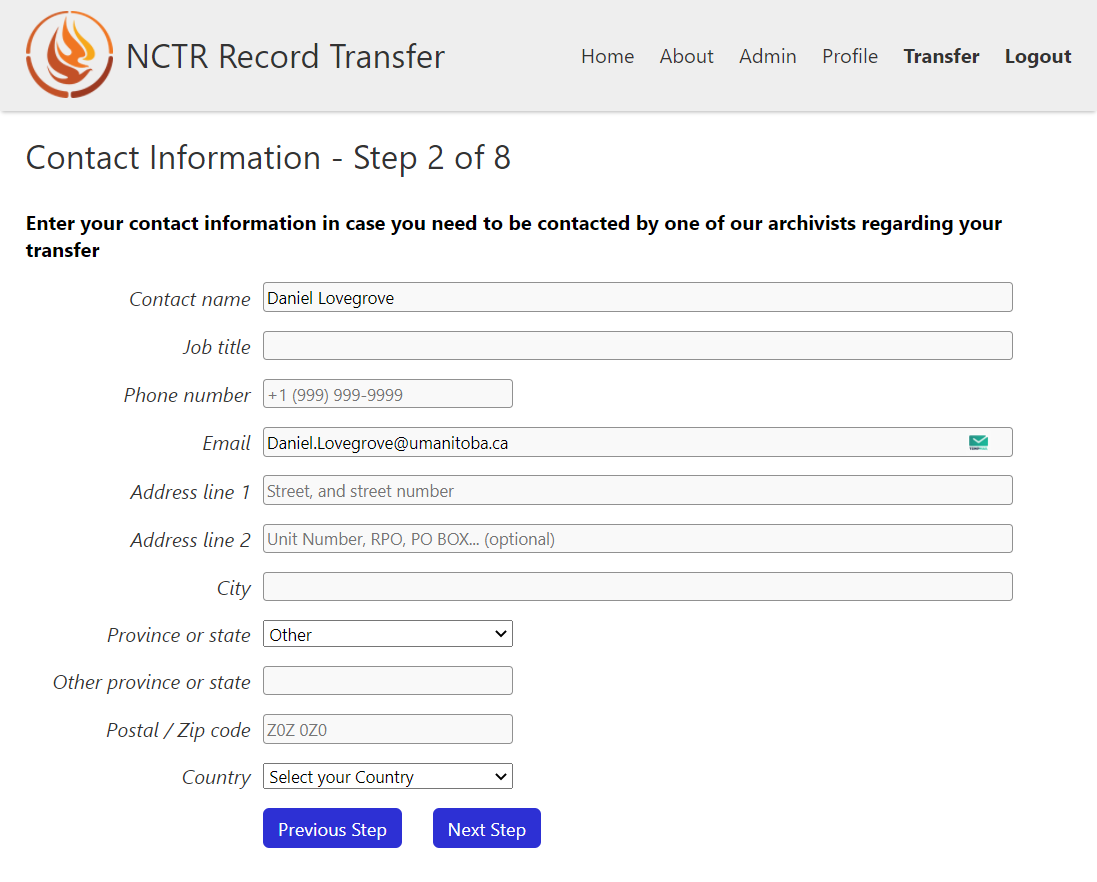
Step 2: Contact information
This form is self explanatory. A person will enter their contact information here before clicking Next.
Step 3: Source information
Here, the user will input information about the entity submitting the records. If the user is submitting the transfer themselves, they will enter their own information. If they are submitting the transfer on behalf of another person or an institution, they will put that institution’s information. CAAIS includes fields for adding notes about the source, as well as custodial history. If someone feels inclined to include this information, they can click Add Notes & History (Optional).
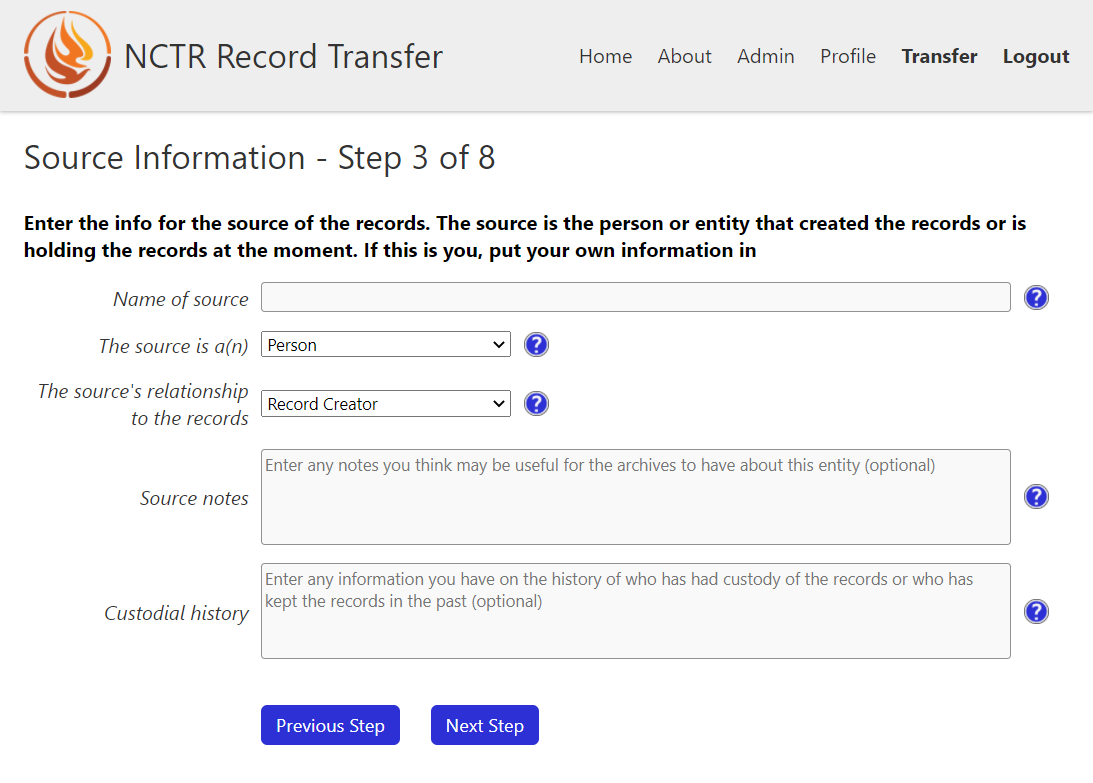
In the above image, the Add Notes & History (Optional) button has been clicked to expose the hidden fields.
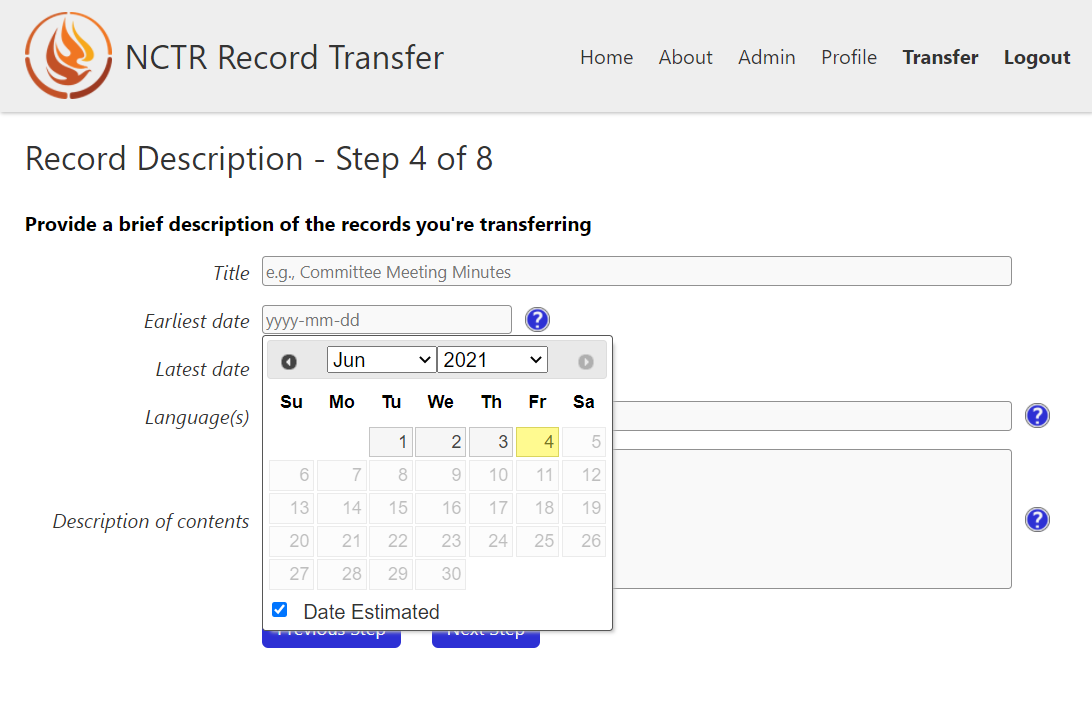
Step 4: Record Description
In this step, users are asked for a very brief description of their transfer/records. They must enter four pieces of information:
A title
The start and end date of the records. They can select “Estimated date” if the date is not exact
The languages of the records
A brief description of what the records contain
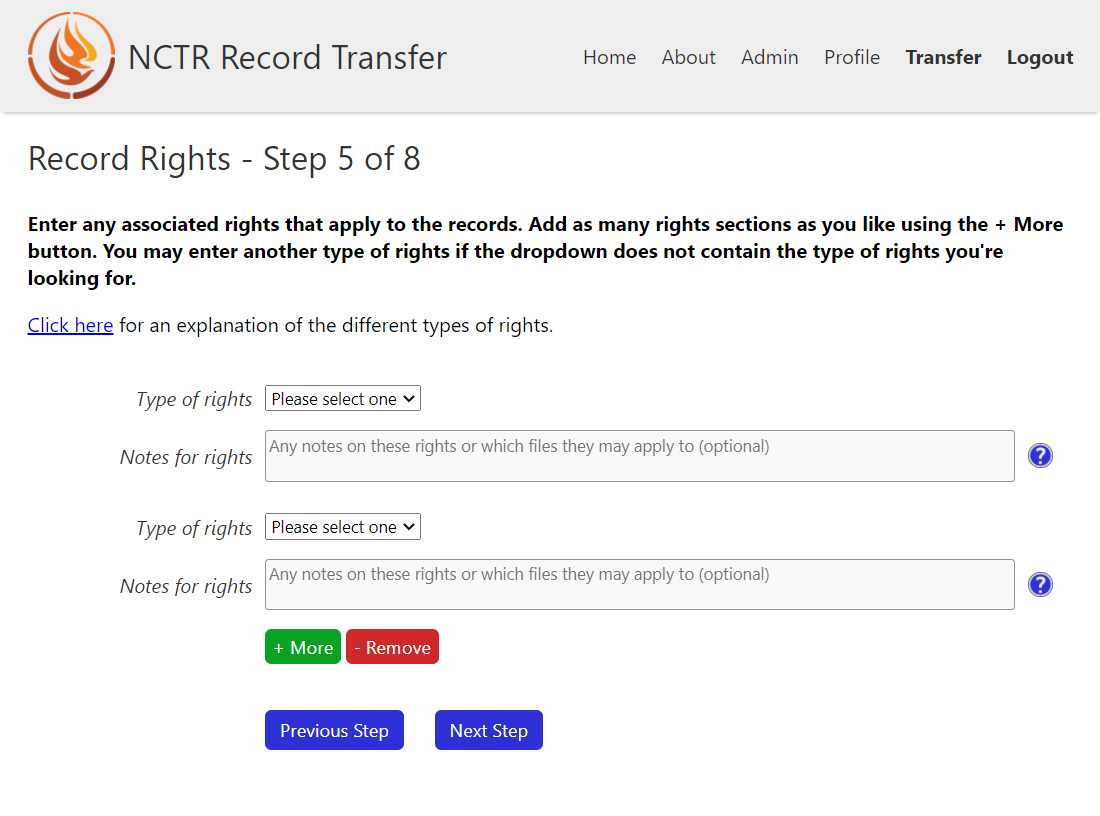
Step 5: Record Rights
Here, the user will enter the rights applying to their records. They must select at least one type of rights that apply to their records. If the type is not present in the dropdown, they can select Other and type in their own type of right. If they want to add multiple rights if, for example, there are different rights for different records, they can click the + Add button to add more. Alternately, they can remove rights with the - Remove button.
If someone is confused about what the rights are for their records, they can open the rights explanation dialog for a description for each type of right. You can find more information about the rights in the section on Adding Rights Taxonomies.
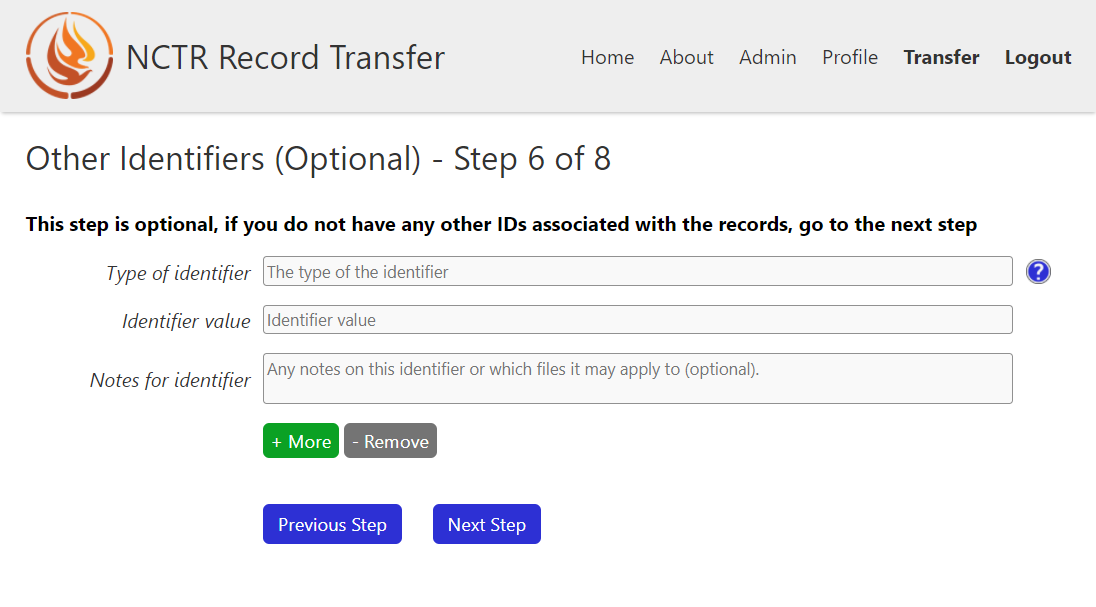
Step 6: Other Identifiers
If the user has other identifiers that apply to their records, like an ISBN, or a barcode number, they can put those here. They are not required to enter any here, so can skip to the next step if needed.
Similar to the Rights form, users can add or remove sections of this form.
Step 7: Assign Transfer to Group
If a user is splitting their transfer out into multiple steps, or if they just want to associate their transfer with a group of other transfers they have or will make, they can do so here. They can select previous groups from the dropdown, or add a new one with – Add New Group –.

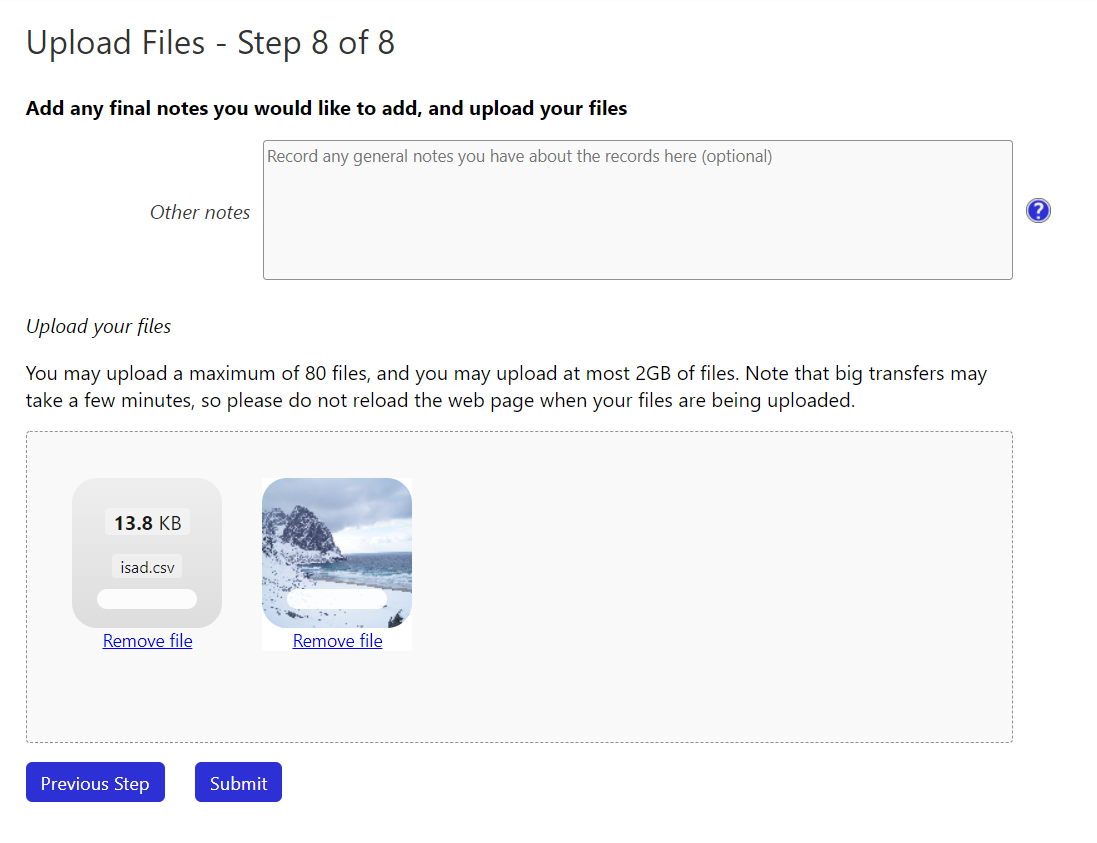
Step 8: Upload Files
This is where the user can add files to their transfer. They must send at least one file for the transfer to submit. They can add files to the file drop zone by clicking on it or by dragging and dropping files into it. If they add a file that isn’t accepted by your accepted file types, the transfer will not be allowed to submit until they remove the offending files.
To see more about how to change what files are accepted, go to the section on Accepted File Types.
Note
For all other steps of the transfer form, the data entered is saved so users can bounce back and forward in the form without losing their data. Unfortunately, if a user adds files to the upload space, goes to a previous step in the form, and comes to the final step again, their files will no longer be there.
Post-Transfer
If the final form submitted successfully, the user will immediately be re-routed to a thank you page. The submission of the transfer form sets off a chain reaction of events. At a high level, these things happen:
A bagit Bag is created on the file system with the user’s uploaded files and all of the form metadata. The location of this bag depends on what the APP_STORAGE_FOLDER is set to.
A Bag object in the database is created. When the Bag is changed in the database, the bagit Bag on the filesystem is updated to match (provided it hasn’t been moved).
An email is sent to any staff user that has checked the “Gets bag email updates” box.
An email is sent to the user who submitted the form.